Banned Book Library in a Wi-Fi Smart Light Bulb
💡 Banned Book Library in a Wi-Fi Smart Light Bulb
Author: Rick's Blog
Categories: #cyberpunk #hacking #hardware
Date: June 15, 2026 | 06:35 PDT
📖 Overview
Some time ago, I became obsessed with the idea of repurposing a WiFi-enabled smart bulb for something far more subversive than just changing colors. While I had several concepts in mind, one stood out: transforming the bulb into an open WiFi access point and web server that hosts banned literature.
The logic is simple: in regions where access to critical information or specific books is restricted, a digital copy could be hidden in plain sight. As long as the light switch is flipped ON, anyone nearby with a WiFi-capable device could access the forbidden texts. Because it's just a light bulb, it's invisible highly discreet and unlikely to trigger suspicion. Furthermore, the low cost of these devices makes them ideal for distributed deployment across a city.
This project was heavily inspired by a piece of fiction:
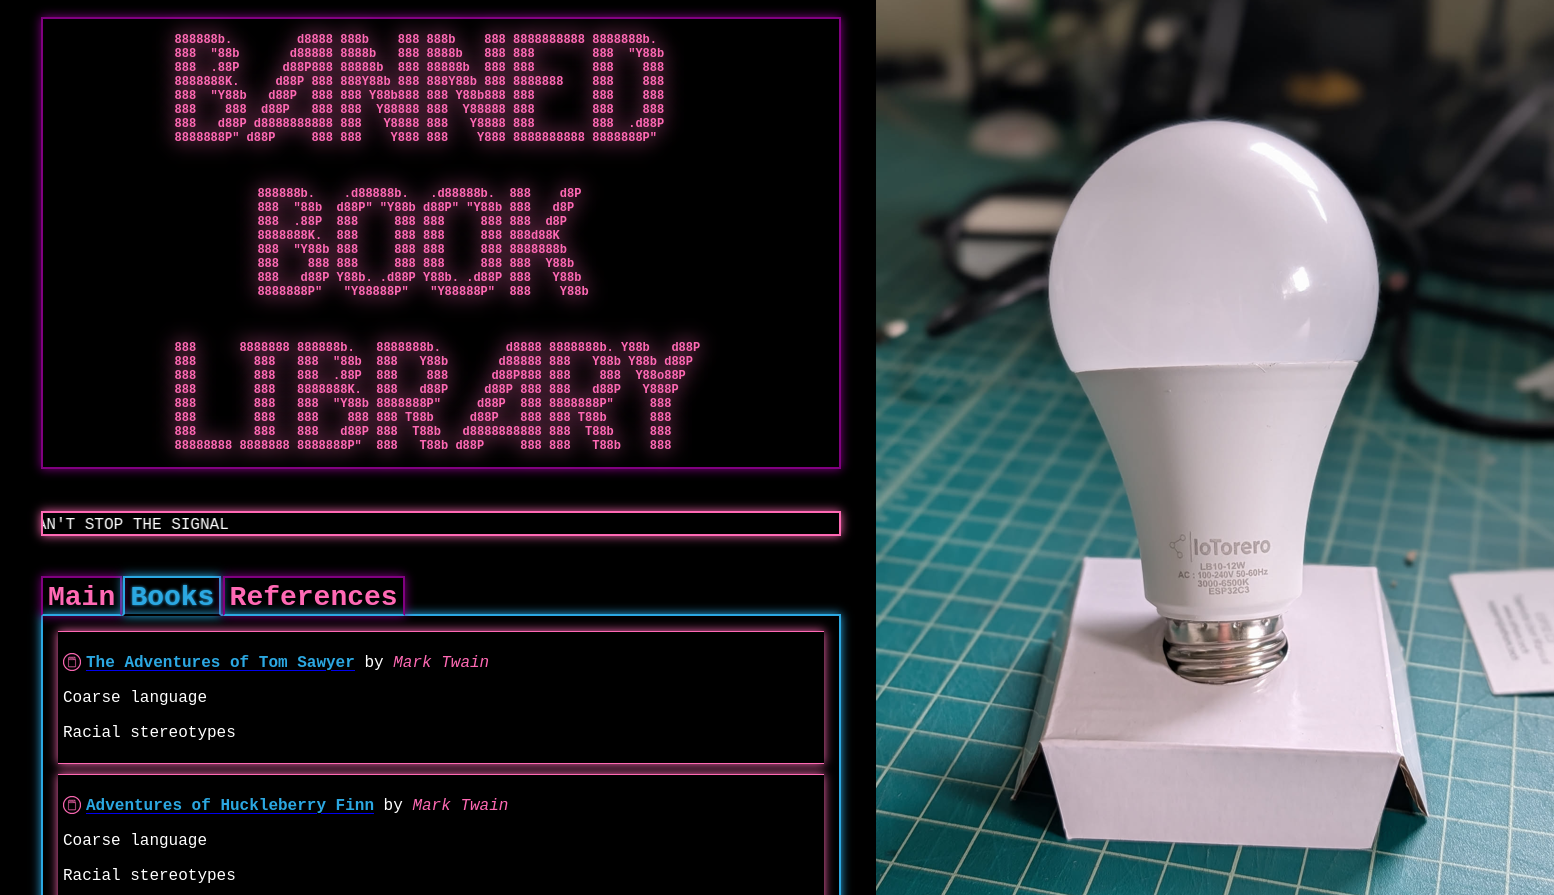
Inspiration: Ben Brown's short story Library. In the narrative, characters maintain a "library"—a digital sanctuary for creative works, technical manuals, and 3D models—to ensure that vital human knowledge isn't permanently erased from the internet.
Conceptual Workflow
🛠️ Hardware
To get started, I consulted my local DEFCON group. A member with home automation expertise pointed me toward Tasmota.
Tasmota is an open-source firmware designed to give users local control over smart devices, effectively cutting the cord from proprietary cloud services. This is a crucial point; much like the "Library" in Ben Brown's story, Tasmota prevents "bricking" by cloud providers who might shut down their servers.
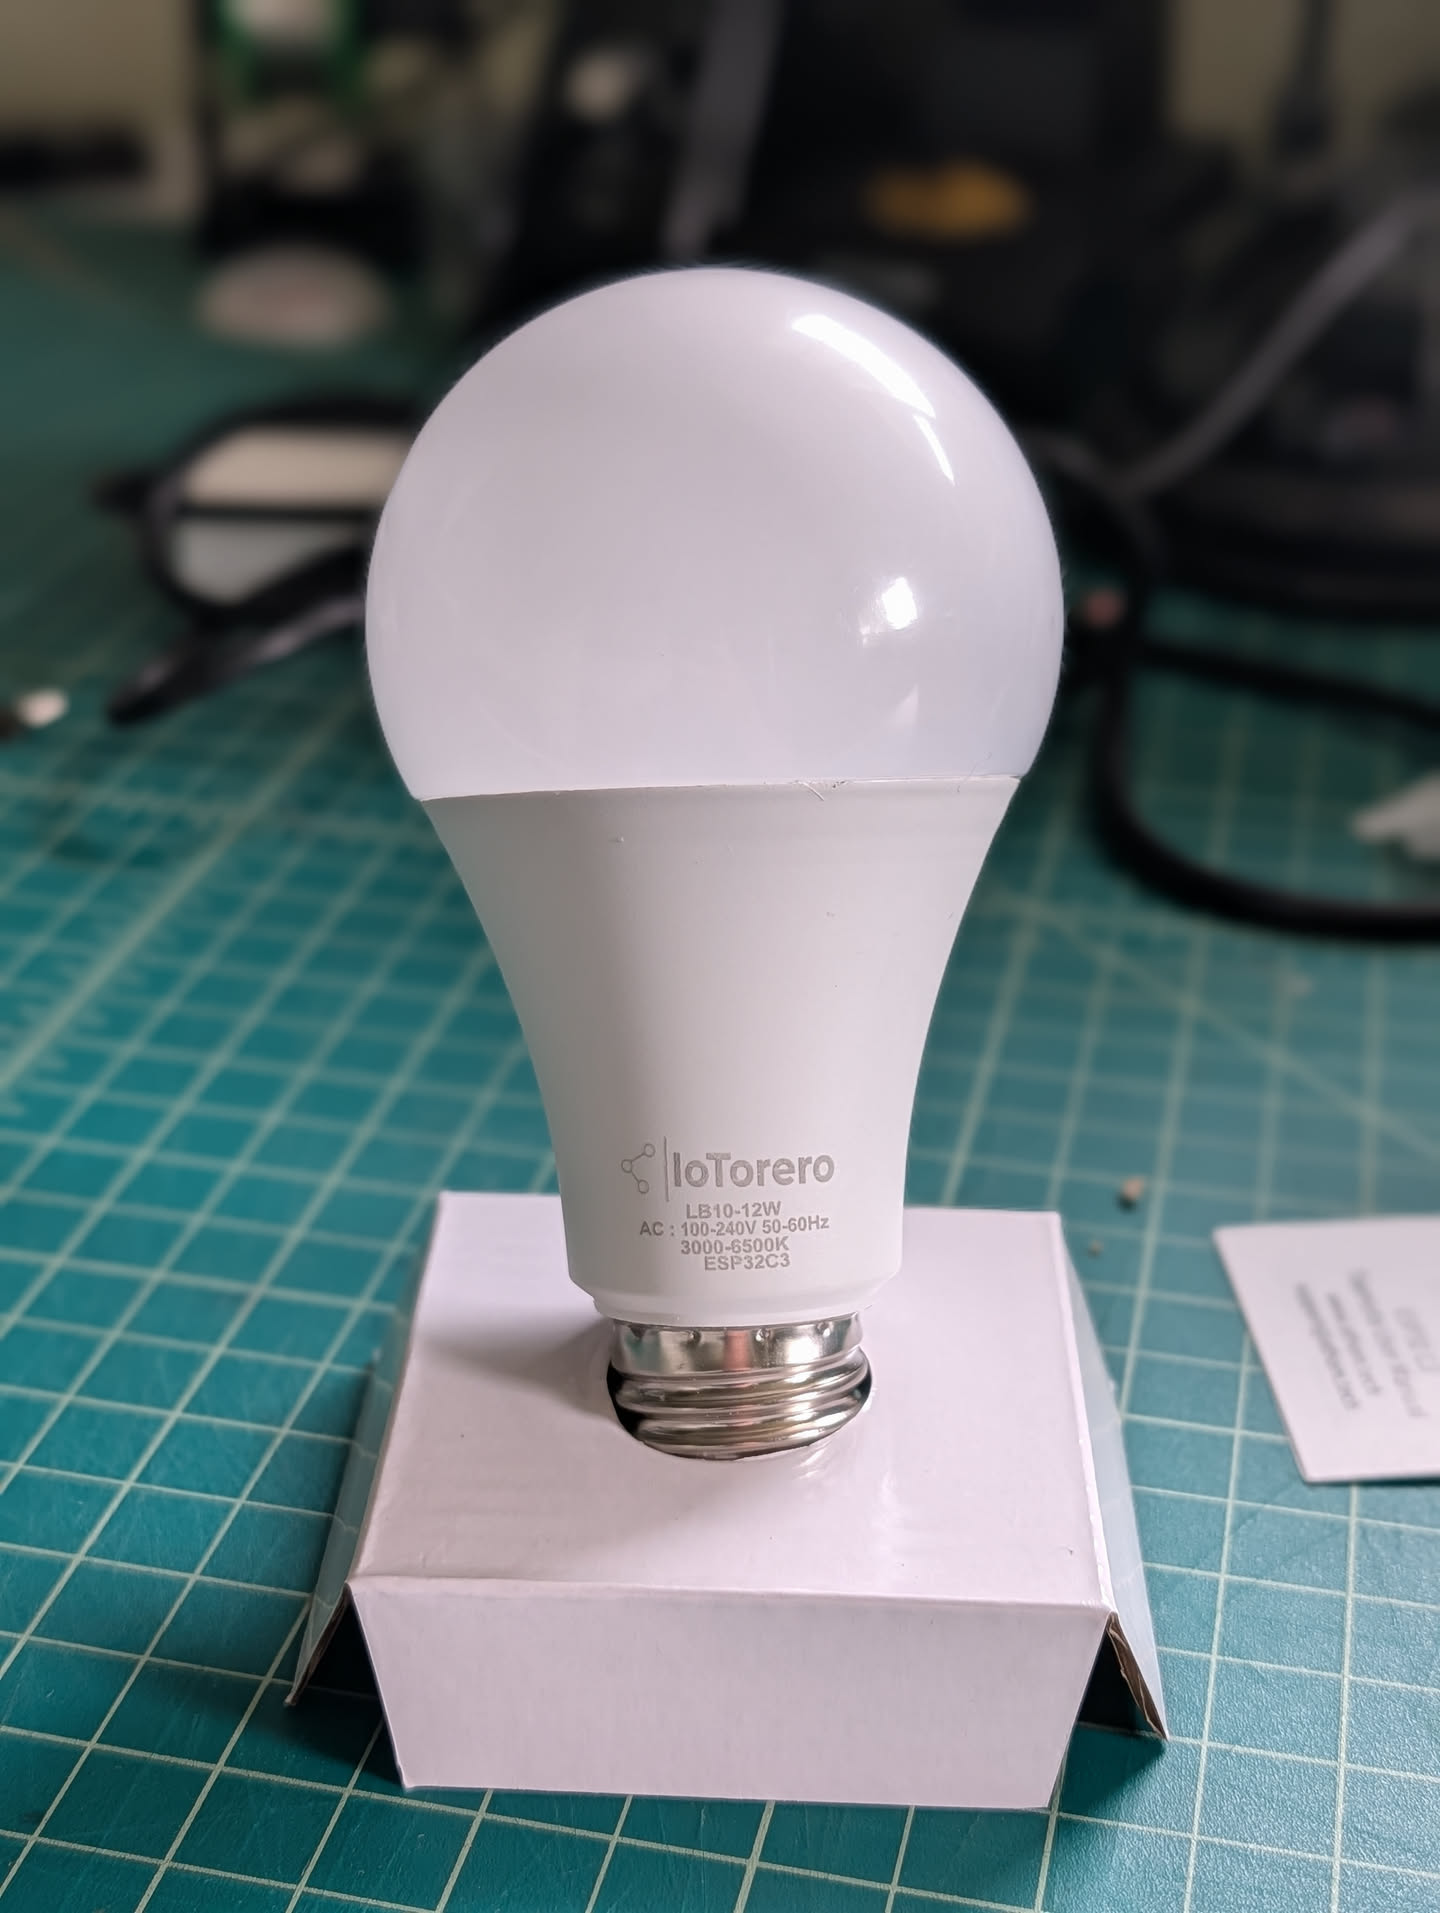
Initially, I felt intimidated by the prospect of working with ESP32 chips since I lacked experience. I considered writing my own firmware from scratch thought about modifying Tasmota, but eventually, I found a shortcut: a vendor selling bulbs with Tasmota already flashed.
Device Specifications
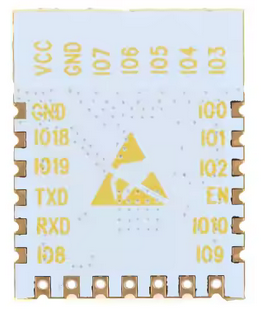
The bulb I purchased utilized an ESP32C3 with 4MB of flash memory. The vendor provided the following GPIO mapping for the LEDs:
| LED Color | GPIO Pin |
|---|---|
| Red (R) | GPIO6 |
| Green (G) | GPIO7 |
| Blue (B) | GPIO5 |
| Cool White (CW) | GPIO3 |
| Warm White (WW) | GPIO4 |
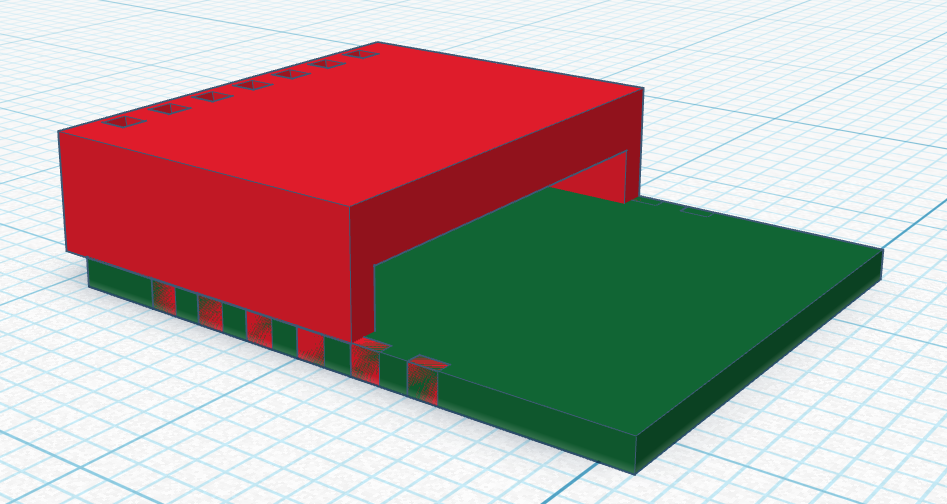
One major advantage of this pre-flashed bulb was the ability to perform OTA (Over-the-Air) updates. This meant I could potentially upload my custom library firmware without ever opening the casing. However, I was concerned about the storage capacity. Fitting the firmware, the web server, and the actual books into is a tight squeeze. I hypothesized that I might need to solder a microSD card reader to expand the storage.
🔍 Teardown
When the bulbs arrived, my first instinct was to perform a physical audit to see if there was room for a microSD module.
The Extraction Process
- Use a razor blade to cut the circumference between the base and the plastic dome.
- Angle the blade downward to slice through the internal sealant.
- Remove the LED daughter board.
- Pry the motherboard out of the housing.
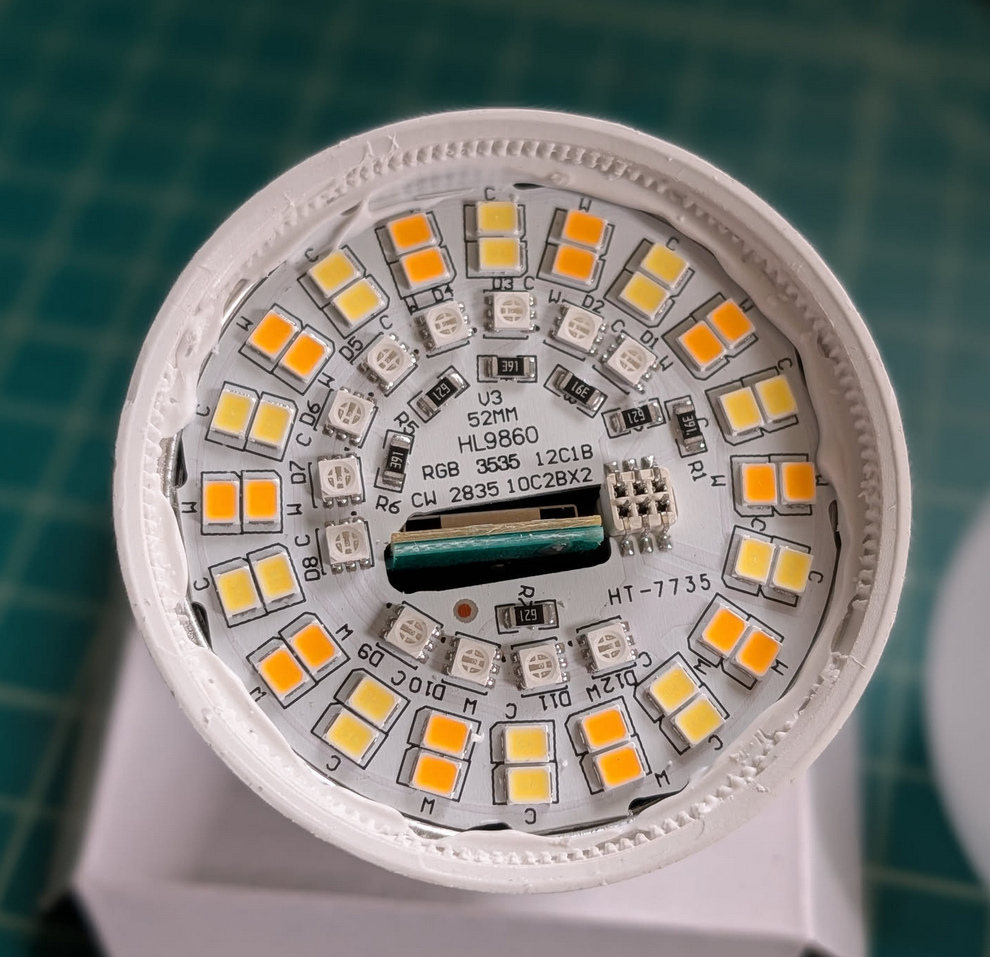
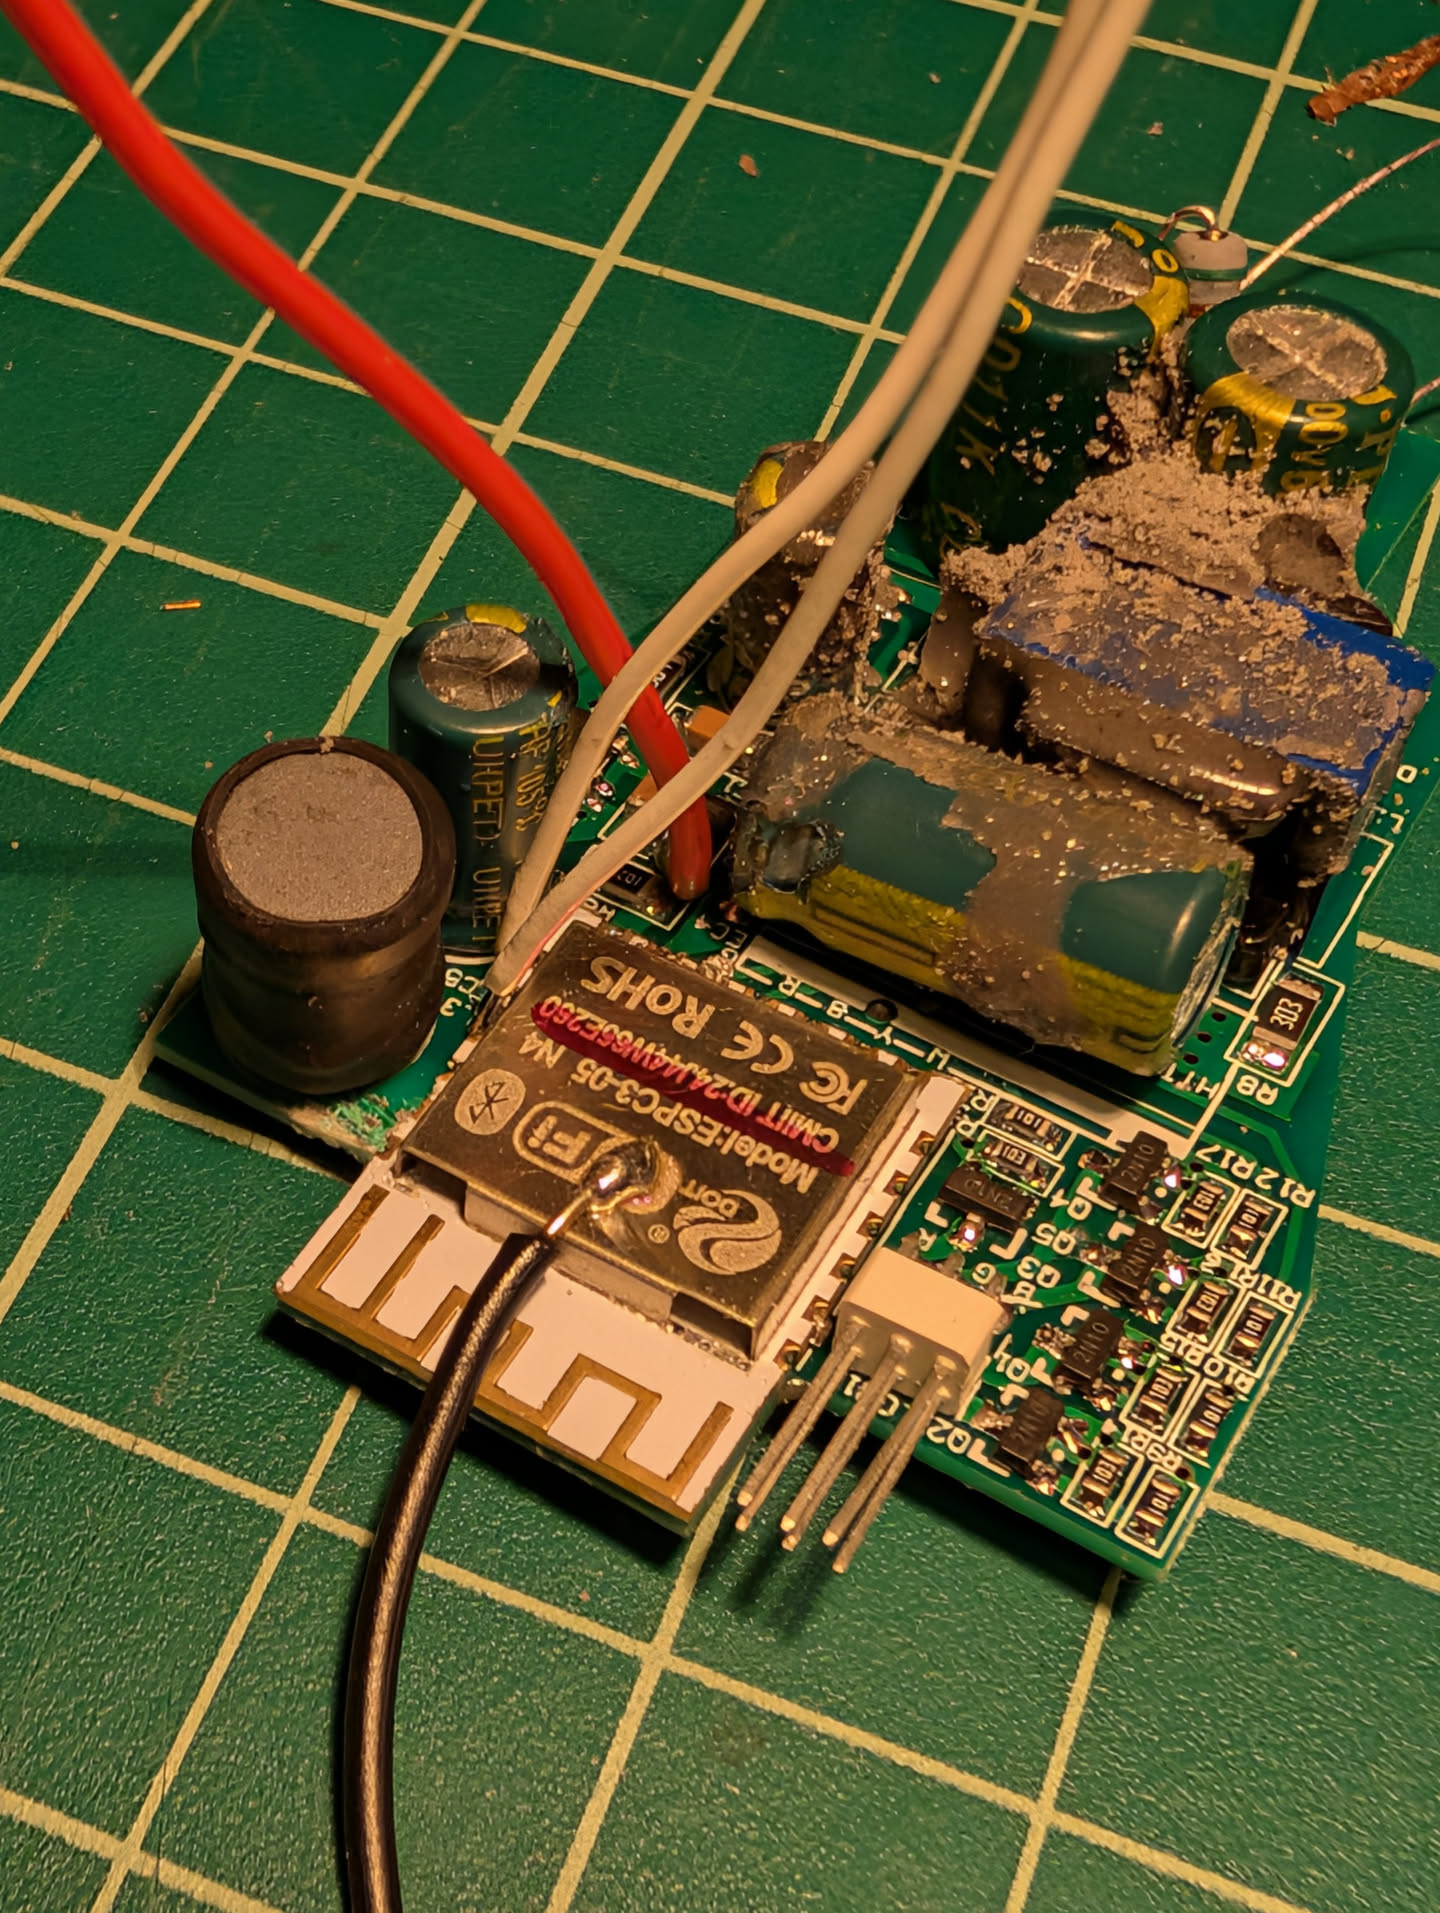
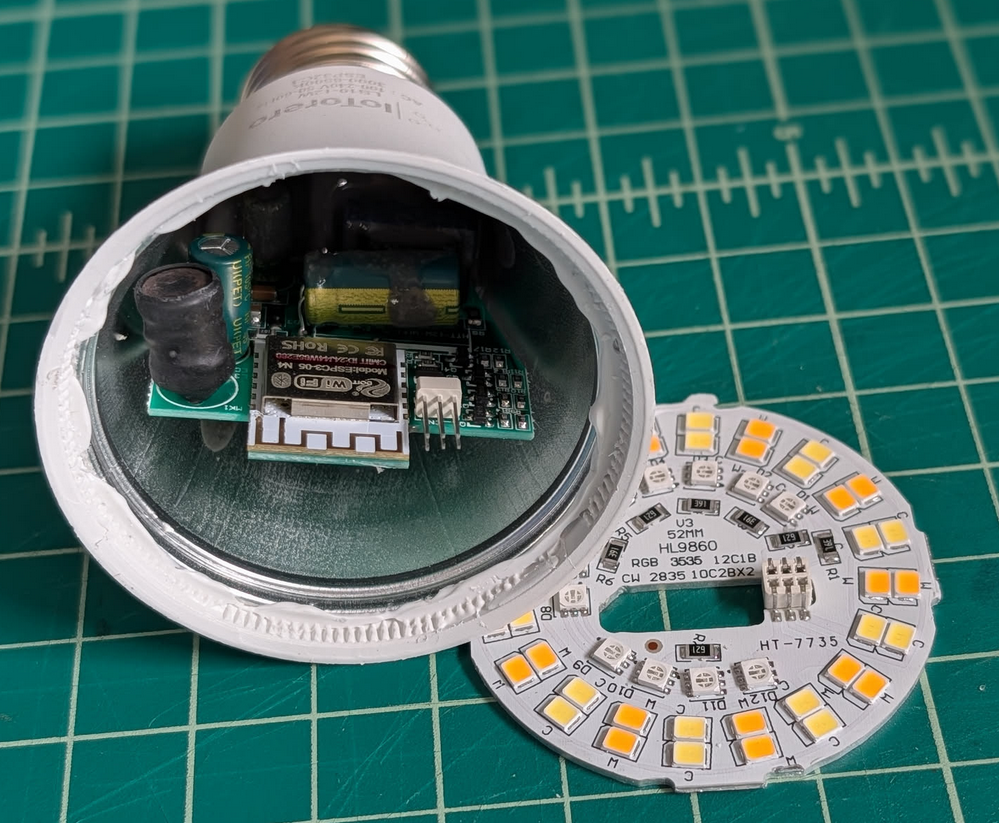
Upon removing the top, I found a daughter board containing the LEDs, connected to the motherboard via six pins. The housing and the board were both aluminum, likely to assist with heat dissipation and signal clarity.
Internal Circuitry
Inside, I found the ESP32C3 and the power regulation circuitry. While I didn't measure the voltages (as I refused to plug an open device into the mains for safety), the circuit essentially performs the following conversion:
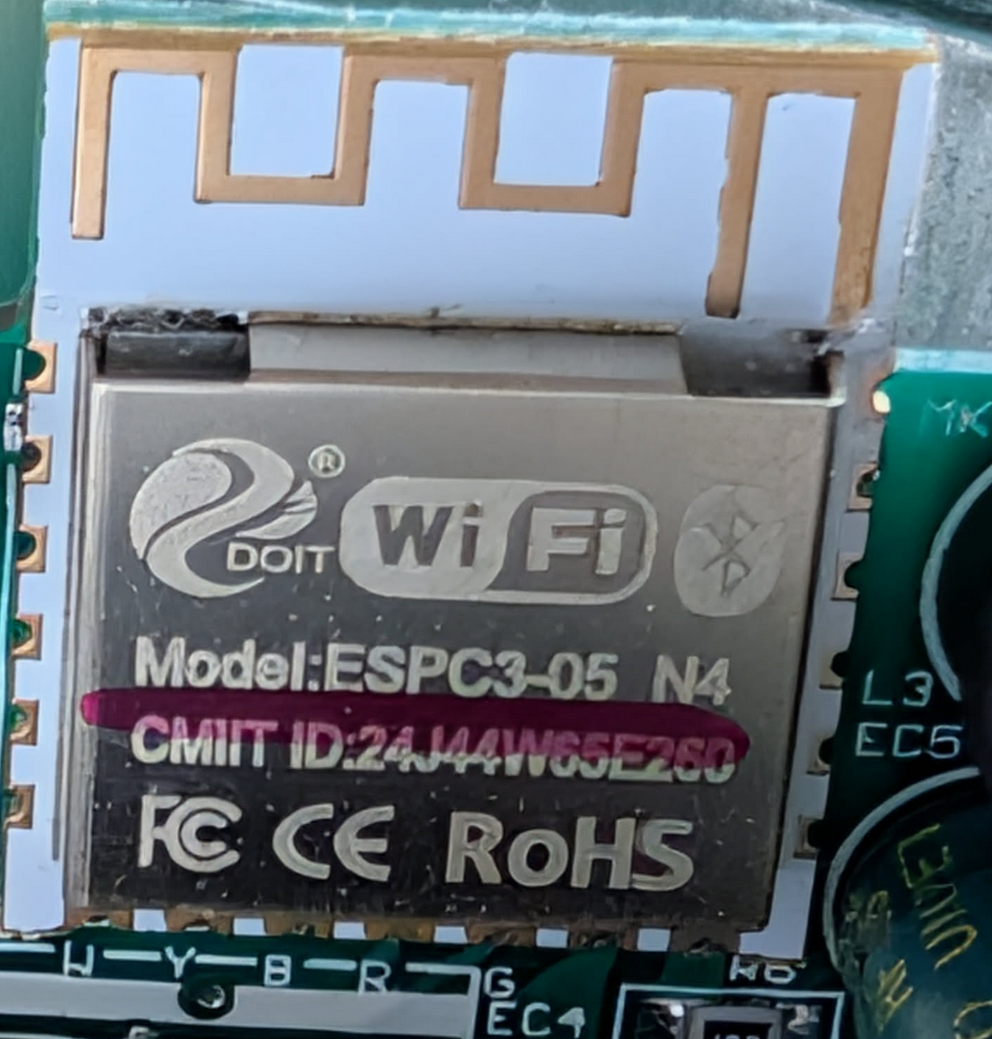
The ESP32 had several exposed pins, which looked promising for a microSD reader. However, the physical constraints were a nightmare. The only part of the chip accessible while the bulb was assembled was the antenna. To actually solder anything, the motherboard had to come out entirely.
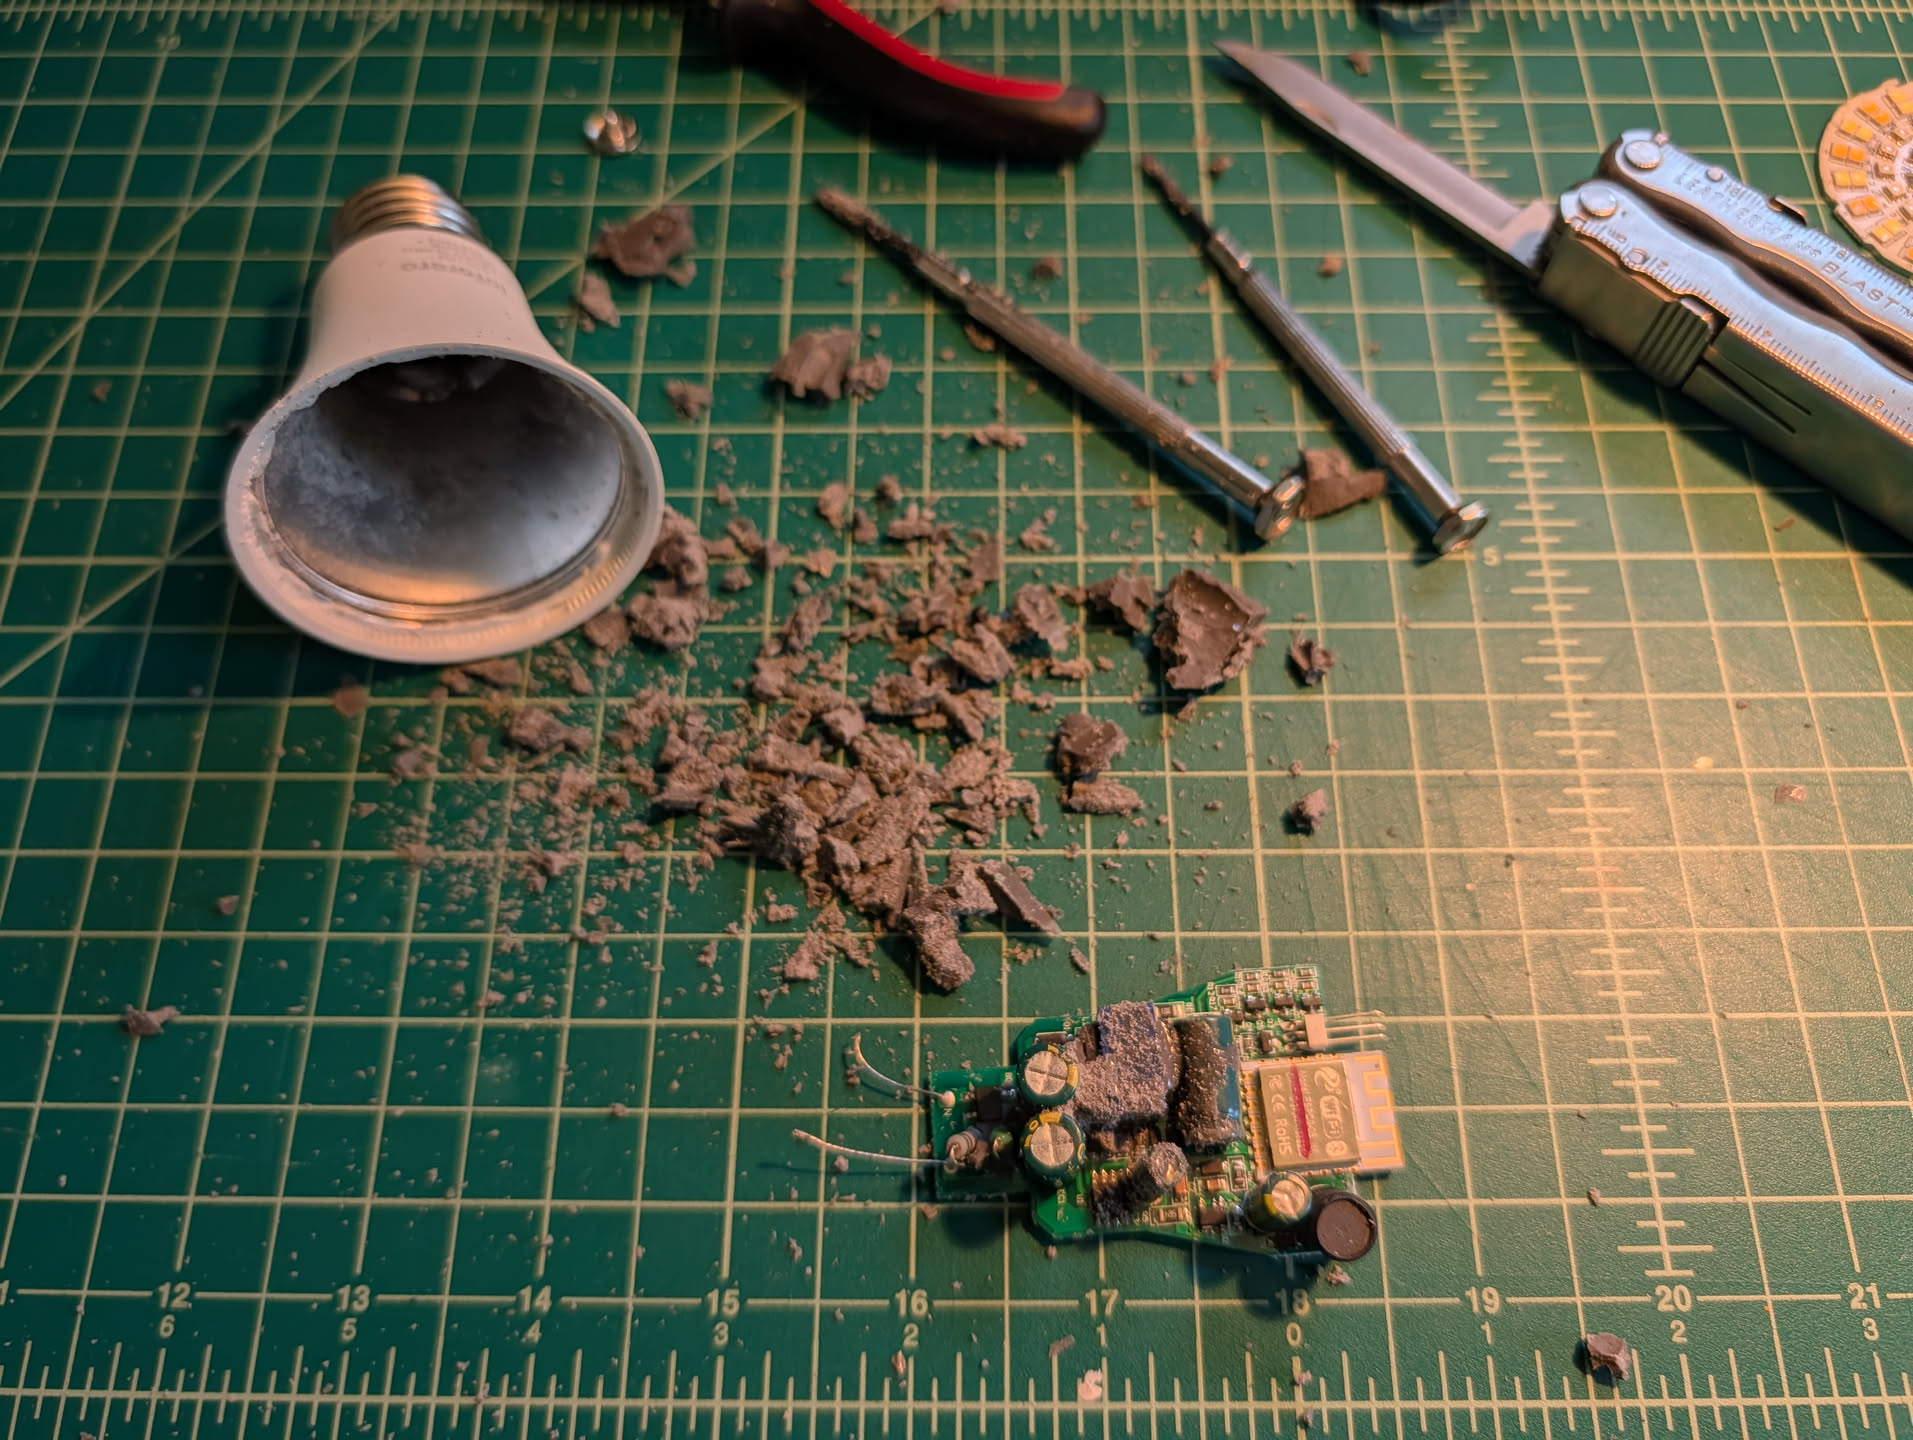
The motherboard was encased in a stubborn, rubbery potting compound. I spent a significant amount of time digging this material out with a screwdriver and knife. It was an incredibly tedious and frustrating process.
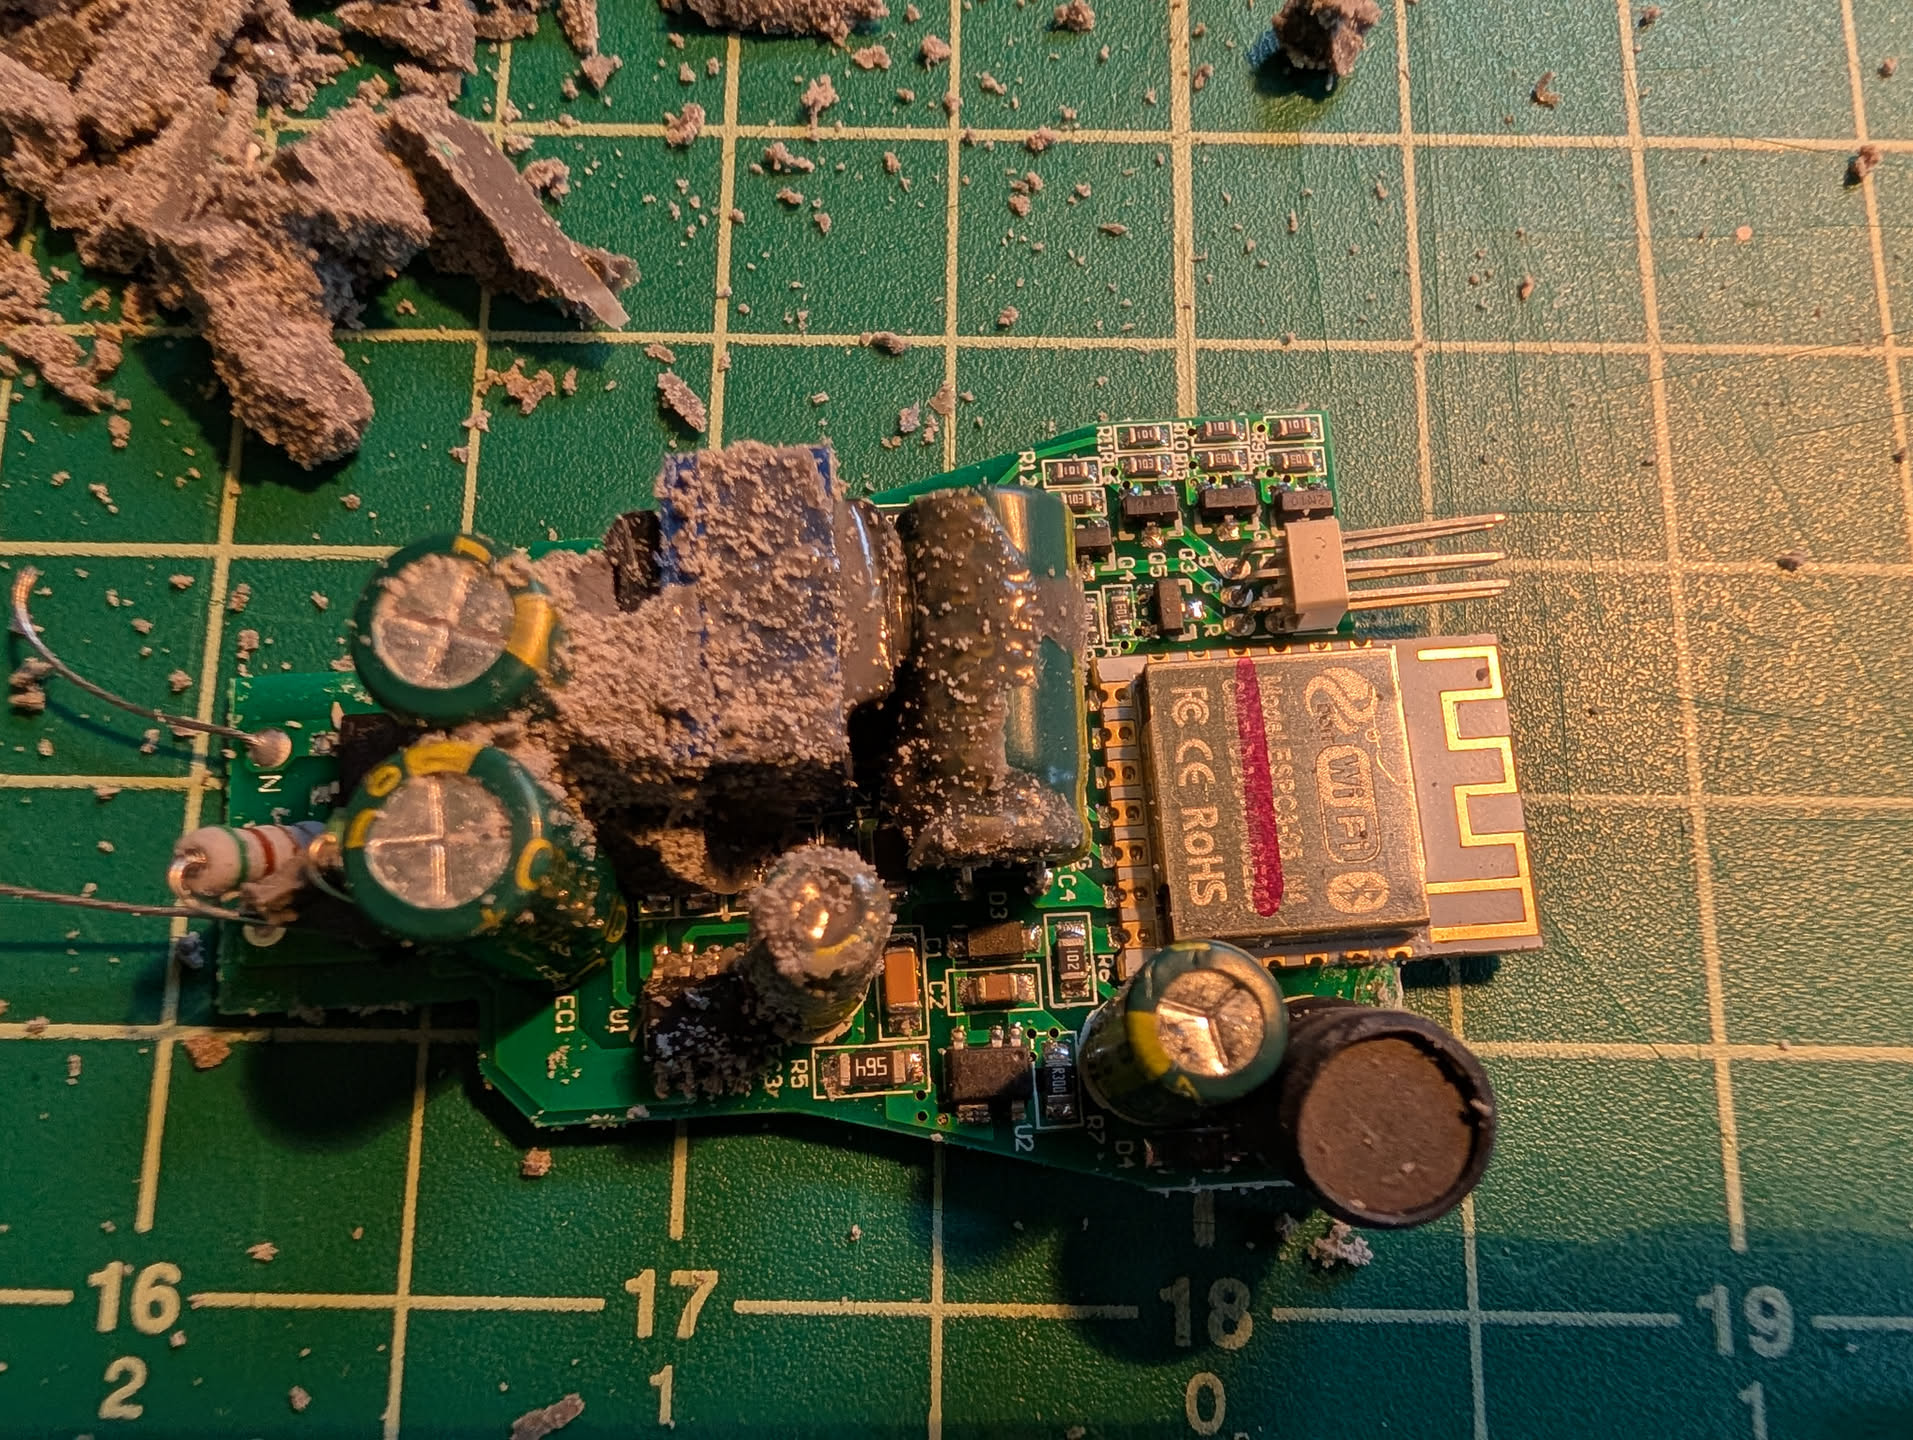
Eventually, I managed to clear enough space to begin modifications.