Building a Tiny 3D Renderer for a Tiny Handheld
Crafting a Miniature 3D Engine for a Miniature Console
By Cristina Ramos
Today, I want to share the technical journey of developing a custom 3D software renderer specifically for the Playdate.

Establishing a Performance Baseline
When I began, I was flying blind—I had no data on how the Playdate would handle 3D calculations. To test the waters, I implemented a simple raycaster.
I've used a specific raycasting implementation for years, based on the classic tutorials from Ken Silverman, as a "litmus test" for the 3D capabilities of any low-power hardware. It is a lightweight way to benchmark the critical components of a renderer:
- Floating point and vector math efficiency.
- Memory operation speed.
- Screen draw latency.
- Framebuffer setup and stability.
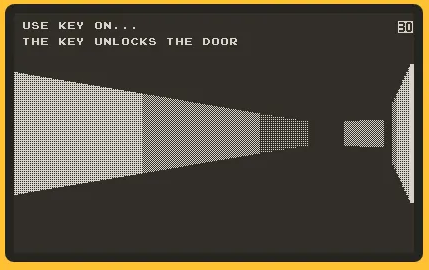
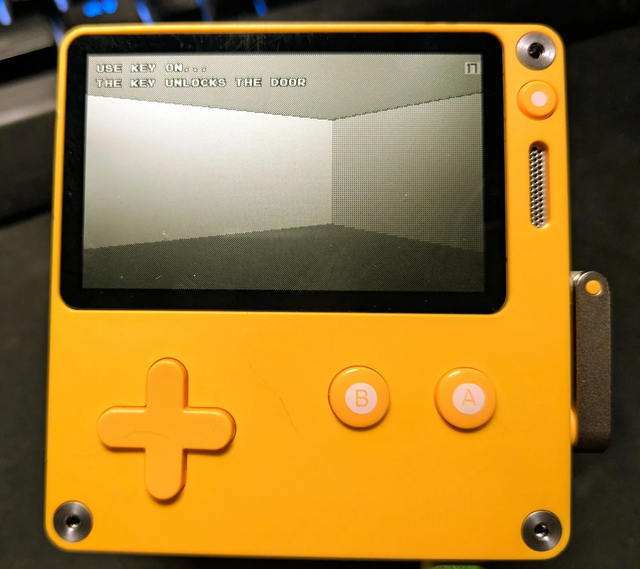
The Verdict: A Reality Check
The results were... underwhelming. While my raycaster wasn't hyper-optimized, the performance made it clear that this would be an uphill battle.
I expected the Playdate to be a powerhouse. In reality, it cannot compete with early 3D accelerators like the 3dfx Voodoo or the original PlayStation. However, the Playdate does have one massive advantage: a small, low-resolution, 1-bit display, which offers significant memory savings.
Despite the slow start, I remained confident that I could achieve a visual style reminiscent of the 3DO or Sega Saturn era.
Hardware Nuances: CPU vs. GPU
When I refer to the "Saturn/3DO era," I am talking about the aesthetic result, not the technical architecture. There is a fundamental difference in how these machines handle graphics:
| Feature | 3DO / Sega Saturn | Playdate |
|---|---|---|
| Rendering Method | Custom Polygon Hardware (GPU-like) | Pure Software (CPU) |
| CPU Load | Low (Hardware did the heavy lifting) | High (CPU does everything) |
| Flexibility | Rigid (Fast only for specific methods) | Flexible (Limited only by CPU cycles) |
This architectural difference explains why ports of Doom often struggled on those consoles; Doom's renderer was designed for CPUs, not for the specific way the Saturn's hardware wanted to draw. On the Playdate, since there is no GPU, the CPU must handle the entire pipeline:
Vertex Transformation Projection Clipping Sorting Shading/Texturing Framebuffer Write
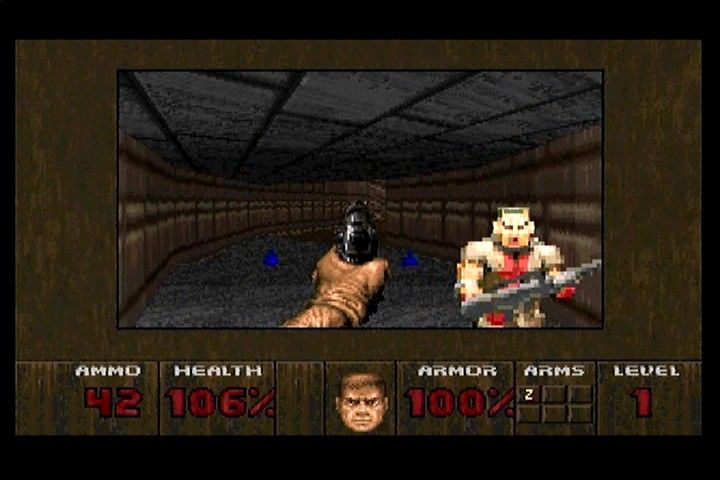
3D Graphics 101: The Illusion of Depth
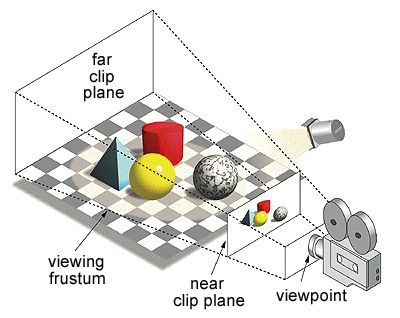
To understand the challenge, we have to remember that "3D graphics" are an illusion. While we live in a world with three spatial dimensions—represented mathematically as a vector —our eyes perceive a flat 2D projection.
The Core Concept: We process 3D data, place a virtual camera in that space, and project the scene onto a 2D plane, mimicking how light hits the retina.
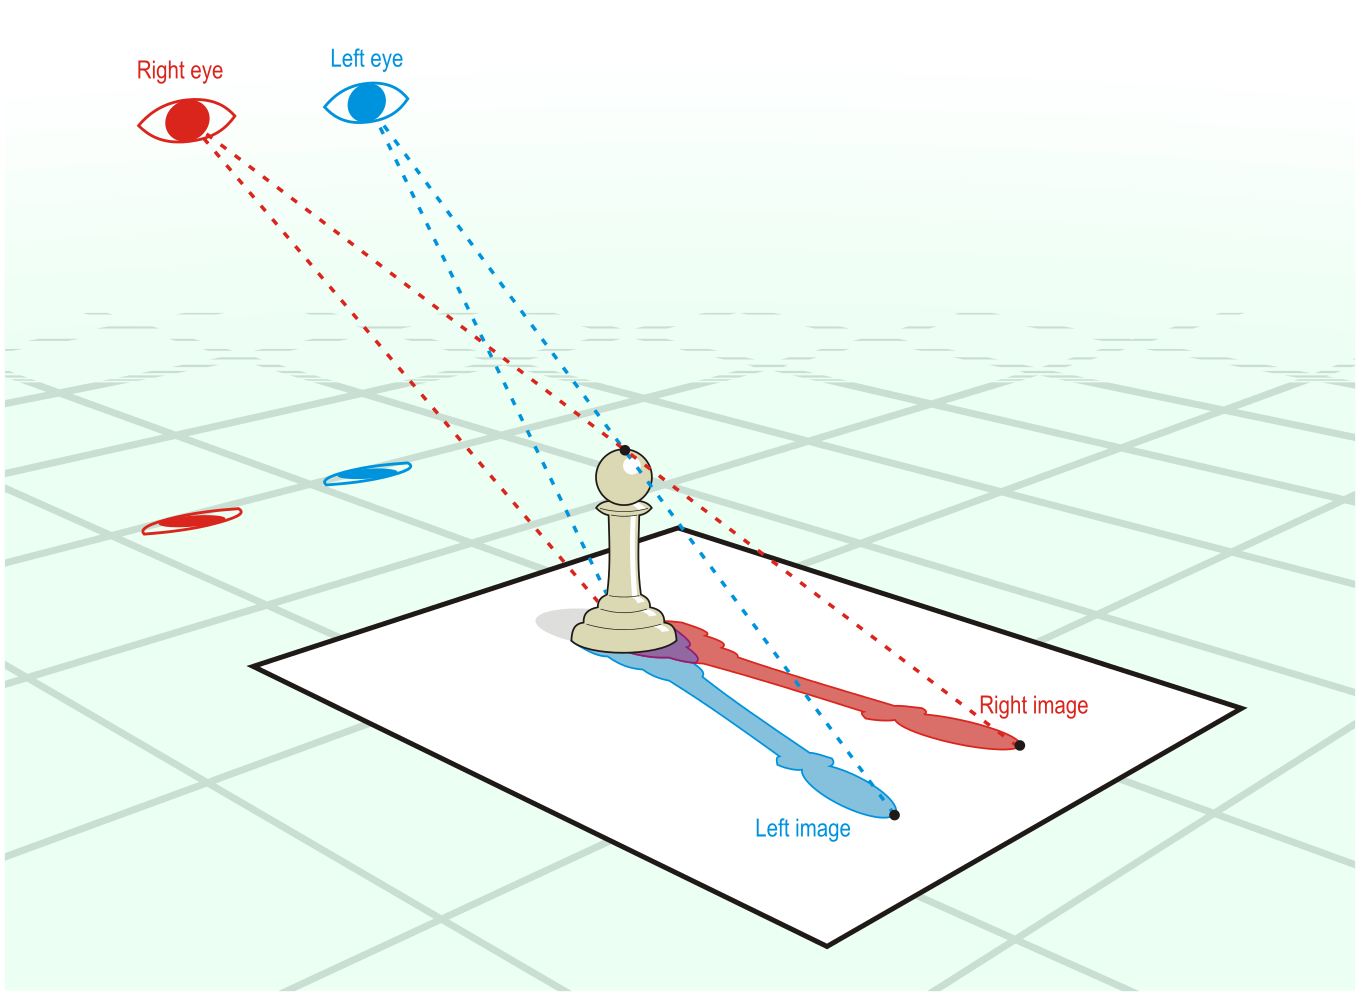
The process looks like this:
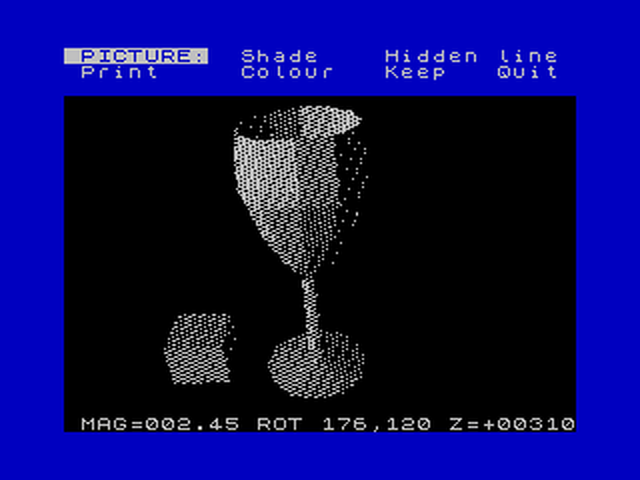
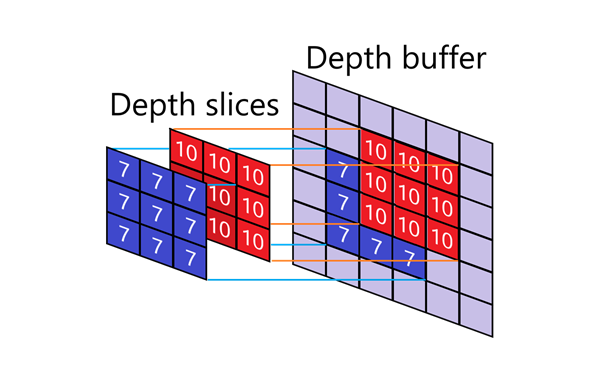
The rasterizer is the "worker" that converts projected geometry into actual pixels, managing textures, overlapping polygons (depth), and clipping.
Optimizing via Quake's Legacy
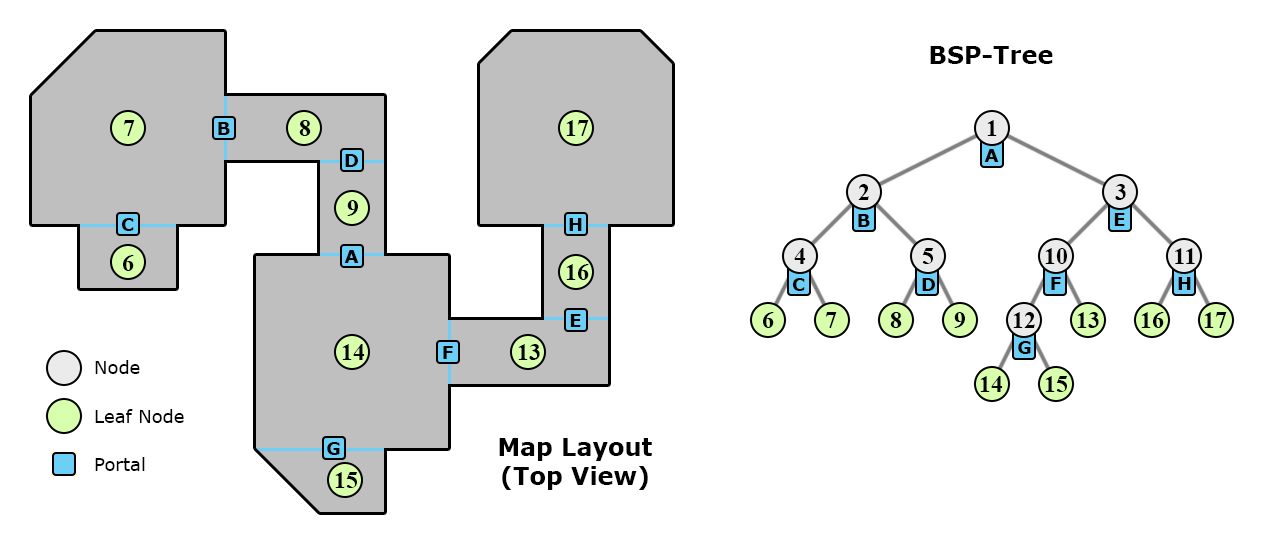
To make the game playable in real-time, I needed a way to avoid rendering things the player couldn't see. I decided to adopt the BSP (Binary Space Partitioning) approach used by Quake.
Why BSP?
- Tooling: I didn't have to build a map editor. I could use
TrenchBroomfor design andericw-toolsfor compilation. - Efficiency: BSP is designed specifically to speed up rendering on slow machines.
How it works:
- Internal Nodes: Act as splitting planes.
- Leaves: Represent convex regions of the world.
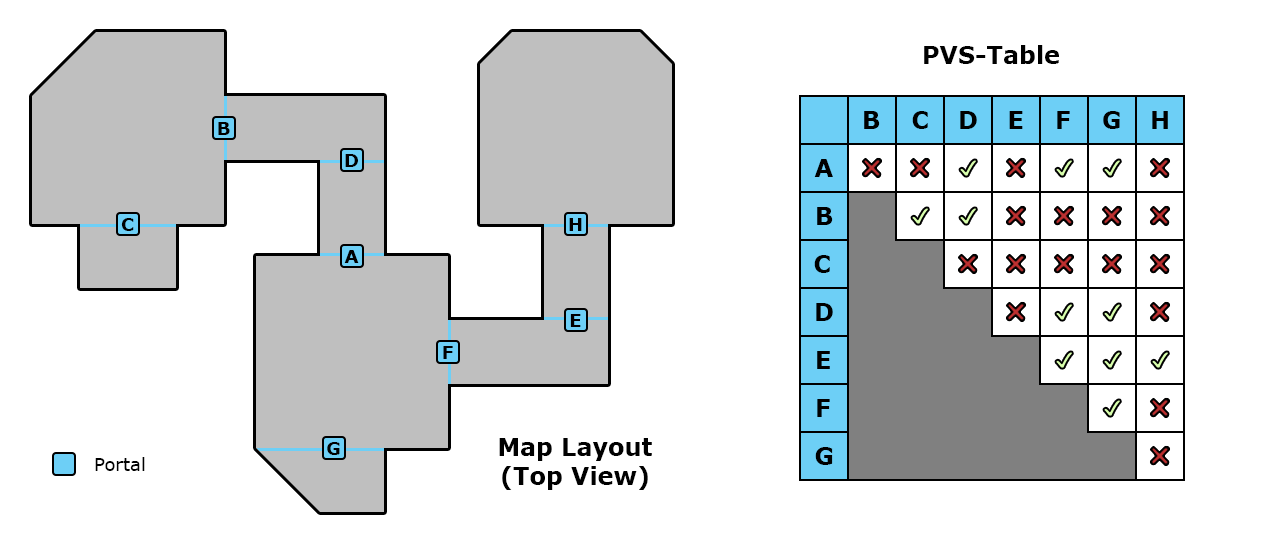
- PVS (Potentially Visible Set): A precomputed table that tells the engine which leaves are visible from any given leaf.
At runtime, the engine identifies the camera's current leaf and uses the PVS to discard massive portions of the map before the rasterizer even starts.
Design Implications
Using a PVS requires intentional level design. For instance:
- L-shaped corridors: These are great because they block the line of sight, allowing the PVS to cull more geometry.
- Straight corridors: These are avoided as they often expose too many rooms at once, tanking the framerate.
Final Thought: Whenever you face a daunting technical challenge, always check if there are mature, battle-tested tools you can adapt before trying to reinvent the wheel.