Mallet Head Angle
Understanding the Mallet Head Angle
Originally published by swirt on March 30, 2011, via Timber Frame Tools.
The debate regarding the ideal angle for a joiner's mallet head is a recurring topic across various woodworking forums. While building a mallet is a rewarding and relatively simple project, the specific geometry of the head often sparks disagreement.
"Advice ranges from 'we don't need no stinking angle' to suggesting an angle that allows the tool to sit perfectly flat on a workbench."
To resolve this, I turned to historical Timber Framing literature. It stands to reason that timber framers—who engage in the most frequent and heaviest chiseling of any woodworkers—would have the definitive answer.
🛠️ Constructing the Wood Mallet
Mallets are excellent projects for utilizing shop scraps. In this instance, I used a piece of white oak originally intended for chisel handles. Because it was too thin for that purpose, it became the handle. I had already shaped it into an octagon, which made laying out the tenon slightly more complex, but manageable.
Material Comparison
While I used what was available, certain woods are objectively superior for this tool:
| Component | Material Used (Scraps) | Ideal Material | Reason for Ideal |
|---|---|---|---|
| Handle | White Oak | Hickory | Superior shock absorption |
| Head | Black Walnut | Osage Orange / Beech | Interlocking grain / Hardness |
The Build Process
1. Shaping the Handle
I used a marking gauge set slightly higher than the mallet head's height to scribe a line around the handle. This ensures the handle extends past the head, allowing it to be planed flush after assembly.

Next, I marked the tenon cheeks on the end grain. Since the corners were already gone (from the octagon shaping), I couldn't scribe the sides. I used a rip-filed back saw for the cheeks and a Ryoba (crosscut side) for the shoulders.


2. The Wedge Slot
To prevent the handle from splitting, I employed a safety-first approach:
- Drill a stop hole at the base of the intended slot.
- Saw down to the hole from both sides.
- Use a "scoring cut" (laying the saw flat) on both edges to ensure the saw meets the hole precisely.


3. The Head Mortise
After ensuring the head sides were square, I marked the center of the bottom and scribed the tenon.
Technical Execution:
- Use an undersized Forstner bit to remove bulk waste.
- Square the walls using a chisel.
- Pro Tip: Clamp the head to the bench with handscrews so the workbench absorbs the impact, not the vise.

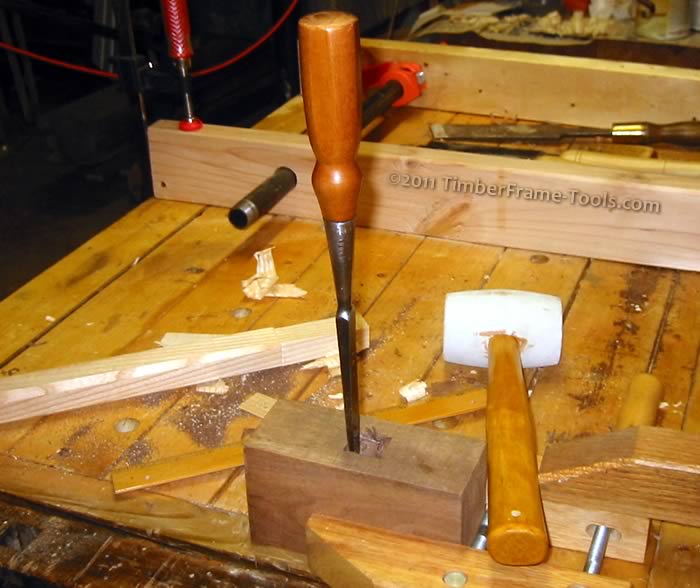
The mortise is designed to flair out slightly from the center toward the striking faces. This geometry ensures that once the wedge is driven, the handle is locked in permanently.

⚠️ Assembly and Final Touches
The fit should be snug but not forced—it should only require a few light taps to seat. I used an old hollow plane to round over the non-striking faces for comfort.
I pounded the wedge all the way in during a temporary fit test.
CRITICAL WARNING: Do not drive the wedge in until the absolute LAST step of the process.
Finally, I planed the tenon flush with the top of the head.
The Geometry of the Strike
To determine the correct angle for the head, we must consider the physics of the strike. If the angle is: The mallet hits flat, but may not provide the specific directional force needed for heavy timber joinery.
def check_mallet_status(wedge_driven):
    if wedge_driven == True:
        return "Permanent Assembly: No more adjustments possible!"
    else:
        return "Temporary Fit: Adjust handle grip and plane flush."

print(check_mallet_status(wedge_driven=True))
Now that the basic construction is complete, we can move on to Stringing the Mallet to find that perfect angle...